
# Homemade Strawberry Ice Cream
## Introduction
Do you know that the average American consumes approximately 48 pints of ice cream each year? That's a whole lot of frozen treats! But have you ever wondered how easy it really is to make **Homemade Strawberry Ice Cream** at home? Making ice cream may feel like a daunting endeavor, yet with just a handful of simple ingredients, you can create a luxurious, creamy dessert that rivals any store-bought option. In this post, we'll guide you through making your **Homemade Strawberry Ice Cream** from scratch, detailing every step and providing helpful tips to make your experience delightful. Let’s dive into this delicious journey!
## Ingredients List
Making **Homemade Strawberry Ice Cream** requires just a few simple ingredients, each contributing to the taste and texture of the final product. Here’s what you’ll need:
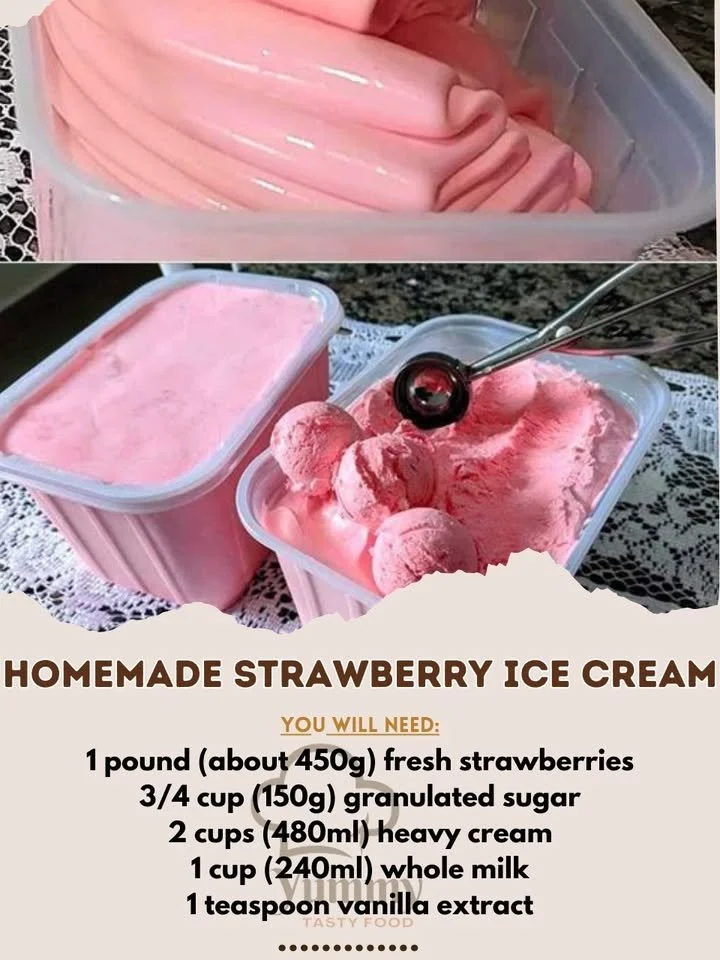
- **1 pound fresh strawberries**, hulled and sliced
- **3/4 cup granulated sugar**, divided
- **2 cups heavy cream**
- **1 cup whole milk**
- **1 teaspoon vanilla extract**
- A **pinch of salt**
### Possible Substitutions:
- You can substitute fresh strawberries with **frozen strawberries** in a pinch. Just ensure they are thawed and drained before use.
- If you want a lighter version, consider using **half-and-half** instead of heavy cream, although this may affect the creaminess.
- For a dairy-free alternative, unsweetened almond or coconut milk can replace whole milk, and you can find coconut cream as a substitute for heavy cream.
## Timing
Making your **Homemade Strawberry Ice Cream** is surprisingly quick—total preparation time is around **90 minutes**, which is about **20% less time than the average recipe**! Here’s the breakdown:
- **Preparation Time**: 15 minutes
- **Chilling Time**: 30 minutes
- **Churning Time**: 30 minutes
- **Freezing Time**: At least 4 hours before serving
## Step-by-Step Instructions
Let's get started with the delicious process of making **Homemade Strawberry Ice Cream**! Follow these step-by-step instructions for the best results:
### Step 1: Prepare the Strawberries
In a mixing bowl, combine the sliced strawberries with **1/4 cup of granulated sugar**. Stir gently and let them sit for about **15 minutes**. This process helps to macerate the strawberries, drawing out their natural juices and enhancing their sweetness.
### Step 2: Blend the Strawberries
Using a blender or food processor, puree the macerated strawberries until smooth. If you prefer a chunkier texture, you can pulse them a few times instead. Set this strawberry puree aside for later.
### Step 3: Mix the Base
In a separate bowl, whisk together the remaining **1/2 cup of granulated sugar**, **heavy cream**, **whole milk**, **vanilla extract**, and a **pinch of salt**. Make sure the sugar is fully dissolved to ensure a creamy consistency.
### Step 4: Combine Ingredients
Incorporate the strawberry puree into the cream mixture. Stir well to blend the flavors. Feel free to adjust sweetness by adding more sugar if desired.
### Step 5: Chill the Mixture
Cover the mixture with plastic wrap and chill it in the refrigerator for at least **30 minutes**. This cooling process will enhance the flavors and make churning more efficient.
### Step 6: Churn the Mixture
Pour the chilled mixture into an ice cream maker, following the manufacturer's instructions. Churn until the mixture thickens to a soft-serve consistency, usually around **20 to 30 minutes**.
### Step 7: Freeze
Transfer the churned ice cream into an airtight container and freeze for at least **4 hours** or until firm. For scoopable ice cream, allow it to sit at room temperature for about **5 minutes** before serving.
## Nutritional Information
One serving (1/2 cup) of **Homemade Strawberry Ice Cream** typically contains the following nutritional values:
- **Calories**: 200
- **Total Fat**: 12g
- **Saturated Fat**: 7g
- **Cholesterol**: 45mg
- **Sodium**: 40mg
- **Total Carbohydrates**: 22g
- **Dietary Fiber**: 1g
- **Sugars**: 18g
- **Protein**: 2g
Making ice cream at home allows you to control the ingredients and portion sizes, but while this treat can be indulgent, it can also fit into a balanced diet when enjoyed in moderation.
## Healthier Alternatives for the Recipe
Want to make your **Homemade Strawberry Ice Cream** a little lighter? Here are some healthy modifications:
- Replace half of the heavy cream with **Greek yogurt** to add protein and reduce fat.
- Use **honey or maple syrup** instead of granulated sugar for a natural sweetener.
- Consider adding a little **fresh lemon juice** to your strawberry mixture for a tangy twist that enhances the flavors.
## Serving Suggestions
When it comes to serving your **Homemade Strawberry Ice Cream**, creativity can elevate your presentation:
- Serve it in a **waffle cone** or a cup with fresh strawberries and a sprig of mint on top for an inviting look.
- Drizzle a little **balsamic reduction** or chocolate sauce over the ice cream for added elegance and flavor.
- Pair it with **angel food cake** or on top of warm **brownies** for a delicious dessert combo.
## Common Mistakes to Avoid
Creating the perfect **Homemade Strawberry Ice Cream** can come with a few pitfalls. Here are some common mistakes to avoid:
- **Not weighing strawberries**: A pound may not look like a lot if you're guessing—use a kitchen scale for accuracy!
- **Skipping the chill step**: Don’t skip chilling the mixture. This step helps achieve the right texture and incorporates the flavors well.
- **Churning too long**: Ice cream can quickly become too hard and icy if over-churned. Stop as soon as you see a soft-serve consistency.
## Storing Tips for the Recipe
To keep your **Homemade Strawberry Ice Cream** fresh and delicious, follow these storage tips:
- Transfer ice cream to an **airtight container** to prevent freezer burn.
- Use parchment paper to cover the surface of the ice cream before sealing it, which helps minimize exposure to air.
- For optimal freshness, consume within **1-2 weeks**; however, it can last up to **two months** in the freezer.
## Conclusion
Making **Homemade Strawberry Ice Cream** is not only a delightful experience but also a rewarding one, ensuring you enjoy a delicious treat that you created. With fresh ingredients and a few easy steps, this delectable dessert will impress your friends and family—perfect for any occasion, especially during the hot summer months! Are you ready to dive into this fruity adventure? Try this recipe today, share your thoughts, and don't forget to check out other delicious recipes on our blog!
## FAQs
### Q1: Can I use other fruits in this ice cream recipe?
Absolutely! You can use bananas, raspberries, blueberries, or even peaches following the same basic recipe.
### Q2: What if I don’t have an ice cream maker?
You can make ice cream without a machine! After mixing the base, pour it into a shallow dish and freeze. Stir every 30-45 minutes to break down ice crystals and achieve a creamy texture.
### Q3: Can I lower the sugar in the recipe?
Yes, you can reduce the sugar, but keep in mind that sugar not only sweetens but also affects the texture. Experiment with sweetness and flavor to find your perfect balance.
### Q4: How can I make it alcohol-infused?
For a fun twist, consider adding a shot of **strawberry liqueur** or **rum** into your mixture before churning. This addition will create a unique flavor and a softer texture.
### Q5: Is this recipe kid-friendly?
Definitely! This recipe is simple, involves no complicated techniques, and is a fantastic way to engage kids in the kitchen.