
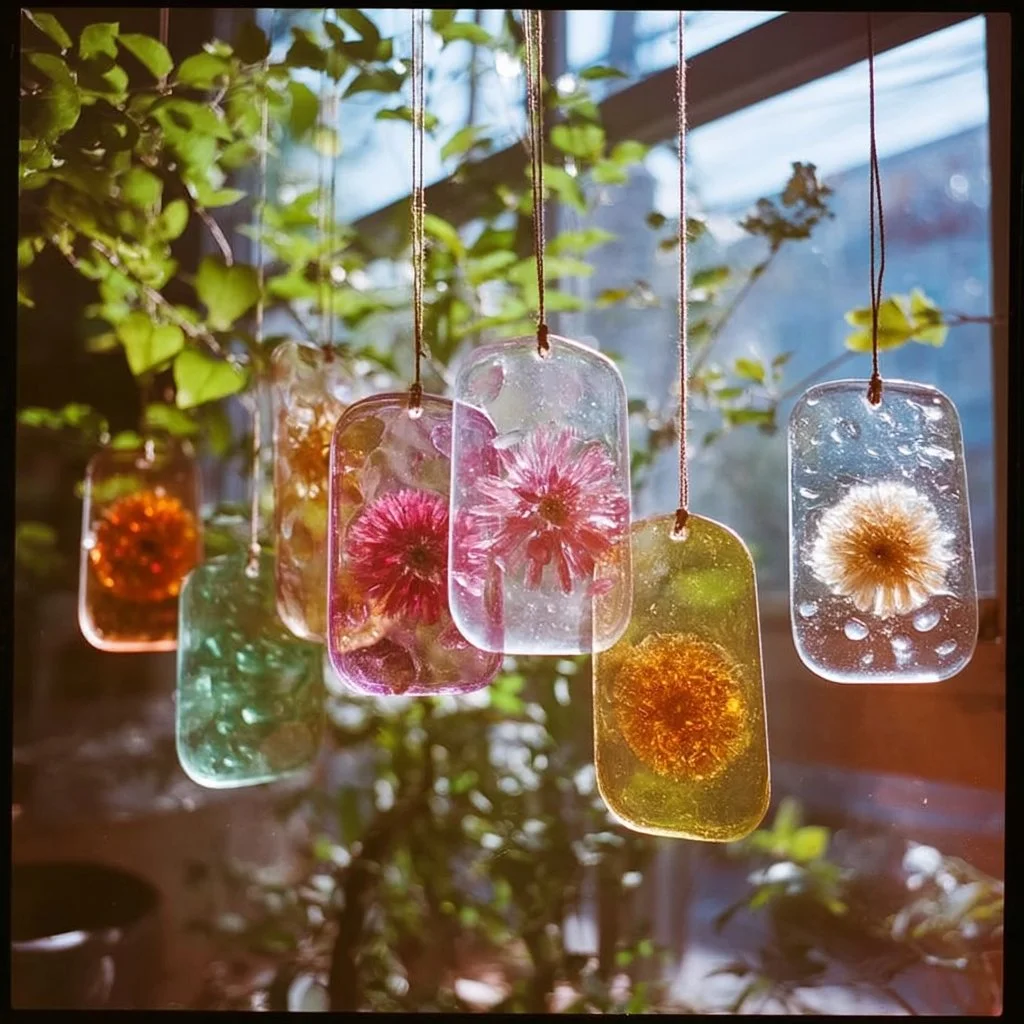
Bioplastic Suncatchers

Have You Ever Wondered How to Create Stunning Decor While Helping the Environment?
Have you ever thought about how a simple art project can make a significant impact on the environment? Enter Bioplastic Suncatchers—an innovative and eco-friendly way to create colorful decorations while promoting sustainability. With the growing concern about plastic waste, using bioplastics offers an intriguing solution that not only beautifies your space but also reduces your carbon footprint. In this comprehensive guide, we’ll break down the process of making bioplastic suncatchers, explore their benefits, and provide tips to make this project engaging and fun!
Ingredients List
-
Bioplastic Film – You can purchase pre-made sheets or create your own using gelatin or starch.
- Substitution: Use thin plastic sheets if bioplastic is not available, though it defeats the eco-friendly purpose!
-
Natural Dyes – Beet juice, turmeric, or plant-based food colorings for vibrant hues.
- Substitution: If you don’t have natural dyes, gel food coloring can be a quick alternative.
- Water – Essential for mixing your dye.
- Molds or Cookie Cutters – Shapes to give your suncatchers the desired look.
- String or Fishing Line – For hanging your suncatchers once they’re dried.
- Clear Varnish (optional) – For added durability.

Timing
- Preparation Time: 15 minutes
- Drying Time: 1-2 hours
- Total Time: Approximately 1 hour and 15 minutes – that’s 20% less time than most comparable DIY projects!
Step-by-Step Instructions
Step 1: Prepare the Bioplastic
- If Making Your Own: In a saucepan, combine 1 cup of water with 2 tablespoons of gelatin and stir until dissolved. Heat gently without boiling.
- Add Natural Dye: Stir in your chosen natural dye until you achieve your desired color.
Step 2: Pour into Molds
- Transfer the Mixture: Carefully pour the bioplastic mixture into your molds or use cookie cutters placed on a lined baking sheet.
- Add Texture: If desired, sprinkle additional natural dye or garnish with pressed flowers for added aesthetics!
Step 3: Drying
- Leave to Dry: Allow the suncatchers to dry for 1-2 hours, or until completely hardened. Avoid touching them during this period to prevent any distortion.
Step 4: Finishing Touches
- Remove from Molds: Gently peel your suncatchers from the molds.
- Varnish (Optional): Brush a coat of clear varnish for added sheen and resistance.
Step 5: Hang Your Creation
- Add String: Attach your fishing line or string through a small hole (if you made it) and hang your suncatchers in a sunny spot!
Nutritional Information
While eating your suncatchers isn’t advisable (they’re not edible), let’s compare the ecological impact of traditional decor versus bioplastic suncatchers. Traditional plastic decorations can take up to 1,000 years to decompose, while bioplastics are designed to break down in as little as 90 days, reducing landfill waste significantly. Make a statement of sustainability!
Healthier Alternatives for the Recipe
- Eco-Friendly Dyes: Instead of artificial colors, use organic plant infusions or beet juice for a natural approach.
- Additives: Consider incorporating natural glitter made from minerals for shimmer without the plastic!
Serving Suggestions
- Sunlit Windows: Place suncatchers in areas with direct sunlight to create vibrant reflections.
- Seasonal Projects: Modify designs for different seasons or celebrations (hearts for Valentine’s, snowflakes for winter!).
Common Mistakes to Avoid
- Incorrect Ratio of Ingredients: Too much dye can affect the hardness of your suncatchers, making them mushy.
- Inadequate Drying Time: Ensure that each suncatcher dries completely before handling; this prevents crumbling.
- Using Non-Biodegradable Materials: Avoid synthetic dyes or plastics if you aim for sustainability.
Storing Tips for the Recipe
- Store in a Cool, Dry Place: If you have leftover bioplastic mixture, store it in an airtight container in the fridge for up to a week.
- Preserve Finished Suncatchers: Keep them in a padded box away from direct sunlight to keep colors vibrant over time.
Conclusion
Creating Bioplastic Suncatchers is not only an engaging craft project; it also serves as an educational opportunity, allowing you to reflect on sustainability in your everyday life. By utilizing bioplastics, you’re taking a stand for the environment while enjoying a beautiful decoration that enhances your living space.
So why not gather your supplies and try your hand at this fun DIY project? We’d love for you to share your experience or ask questions in the comments below!
FAQs
Can I use regular plastic instead of bioplastic?
Using traditional plastic is not recommended if you want to maintain sustainability. Bioplastics biodegrade, reducing pollution.
How do I make my suncatchers more vibrant?
Double the amount of natural dye or layer different colors to achieve a more vibrant effect.
Are bioplastic suncatchers safe for children?
Yes, bioplastics are generally safe as they are made from non-toxic materials. However, adult supervision is recommended, especially in the kitchen.
How long can I expect my bioplastic suncatchers to last?
With proper care, expect your suncatchers to last for several months before they begin to degrade. Enjoy their beauty and then recycle them responsibly!
Can I decorate my suncatchers further?
Absolutely! Consider painting designs with eco-friendly paint after they’ve dried to add personal touches to your creations.
Explore the beauty and creativity of Bioplastic Suncatchers today. Happy crafting!