
Why Make This Recipe
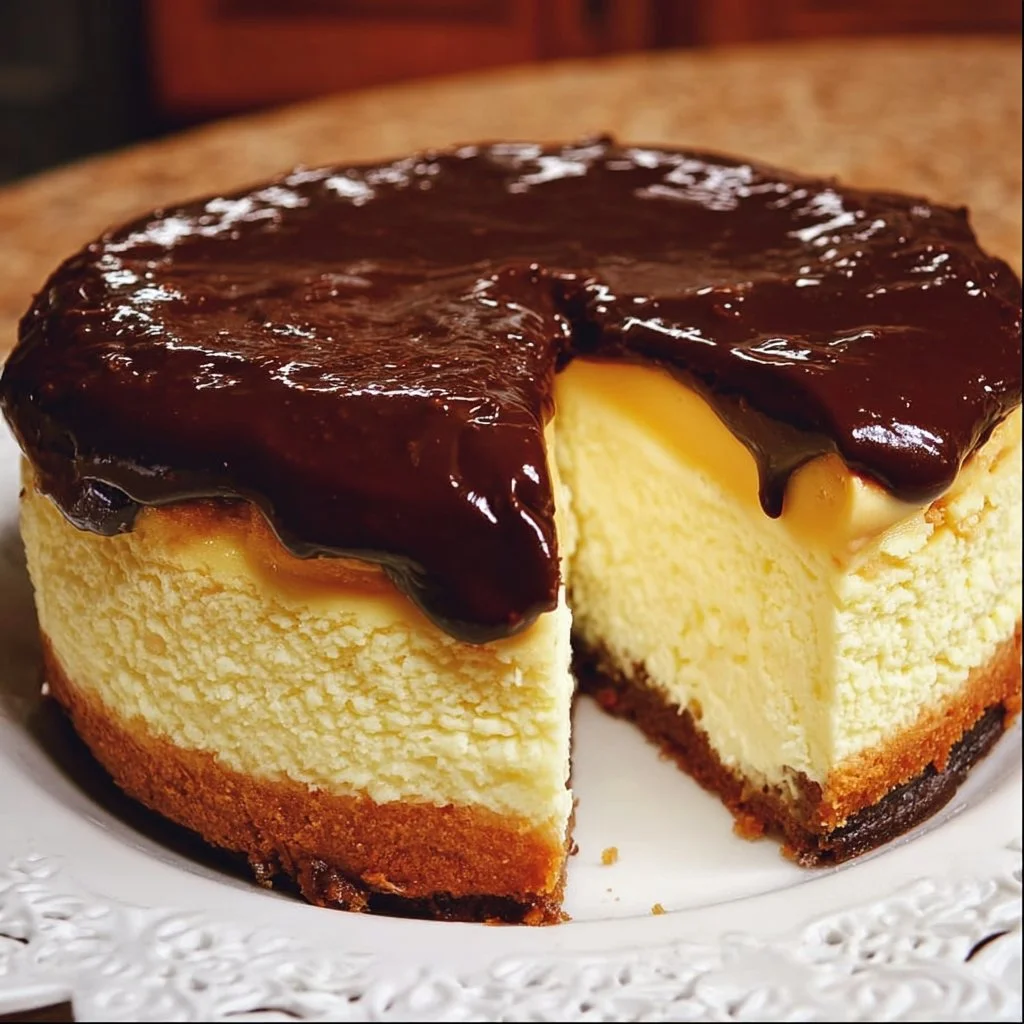
Boston Cream Pie Cheesecake is a delightful dessert that combines two classics: the creamy richness of cheesecake and the sweet goodness of Boston cream pie. This recipe offers a unique twist that will impress your friends and family while satisfying your sweet tooth. It’s perfect for special occasions, holidays, or simply when you want to indulge in a delicious dessert.
How to Make Boston Cream Pie Cheesecake
Ingredients:
- 1 1/2 cups graham cracker crumbs
- 1/4 cup sugar
- 1/2 cup unsalted butter, melted
- 24 oz cream cheese, softened
- 1 cup sugar
- 3 large eggs
- 1 cup sour cream
- 2 tsp vanilla extract
- 2 cups whole milk
- 1/2 cup sugar
- 3 tbsp cornstarch
- 4 large egg yolks
- 2 tbsp unsalted butter
- 1 tsp vanilla extract
- 1 cup semi-sweet chocolate chips
- 1/2 cup heavy cream
Directions:
- Preheat your oven to 350°F (175°C).
- In a bowl, mix the graham cracker crumbs, 1/4 cup sugar, and melted butter until everything is well combined.
- Press this mixture evenly into the bottom of a 9-inch springform pan. Bake for 10 minutes, then let it cool.
- In a large mixing bowl, beat the softened cream cheese and 1 cup of sugar until the mixture is smooth and creamy.
- Add the eggs one at a time, mixing well after each addition. Then, stir in the sour cream and 2 teaspoons of vanilla extract.
- Pour the cream cheese mixture over the cooled crust and smooth the top.
- Bake the cheesecake at 325°F (160°C) for 45–50 minutes, or until the center is set.
- Turn off the oven, and let the cheesecake cool inside with the door slightly open for 1 hour.
- After that, chill the cheesecake in the refrigerator for at least 4 hours or overnight.
- To make the pastry cream, heat the milk in a saucepan until it starts to simmer.
- In a separate bowl, whisk together 1/2 cup sugar, cornstarch, and the egg yolks until smooth.
- Slowly pour the hot milk into the egg mixture while whisking. Then, return it to the saucepan.
- Cook over medium heat, whisking constantly until it thickens (about 3–5 minutes).
- Remove from heat, and stir in the 2 tablespoons of butter and 1 teaspoon of vanilla extract. Let it cool.
- Once cooled, spread the pastry cream evenly over the chilled cheesecake.
- Heat the heavy cream in a small saucepan until just simmering. Pour it over the chocolate chips and let it sit for 1 minute.
- Whisk until smooth, then cool slightly before pouring over the pastry cream layer.
- Chill the ganache in the fridge for 30 minutes before slicing and serving.
How to Serve Boston Cream Pie Cheesecake
Slice the cheesecake into wedges and serve chilled. You can garnish each slice with whipped cream or fresh fruit if you like. This cheesecake is rich and creamy, making it a perfect centerpiece for your dessert table.
How to Store Boston Cream Pie Cheesecake
Store any leftovers in an airtight container in the refrigerator for up to 5 days. Make sure to cover the cheesecake well to keep it fresh and prevent it from absorbing any odors from the fridge.
Tips to Make Boston Cream Pie Cheesecake
- Ensure all your ingredients are at room temperature for easier mixing.
- Don’t skip the chilling time; it helps the cheesecake set properly and enhances the flavors.
- Try using a water bath when baking the cheesecake to prevent cracks on the surface.
Variation
You can add fresh strawberries or blueberries to the top of your cheesecake for a fruity twist. Alternatively, you can experiment with different flavored chocolate for the ganache, like white chocolate.
FAQs
Q: Can I use a different type of crust?
A: Yes! You can use Oreo crumbs or a cookie crust if you prefer a chocolate base.
Q: Can I make this cheesecake ahead of time?
A: Absolutely! You can make it a day or two in advance. Just make sure to store it in the refrigerator.
Q: How do I know when the cheesecake is done baking?
A: The edges will be set, and the center should be slightly jiggly. It will firm up as it cools.